Commercial feature guide
Dimmable Alarm Clock Displays and True Display-Off Modes
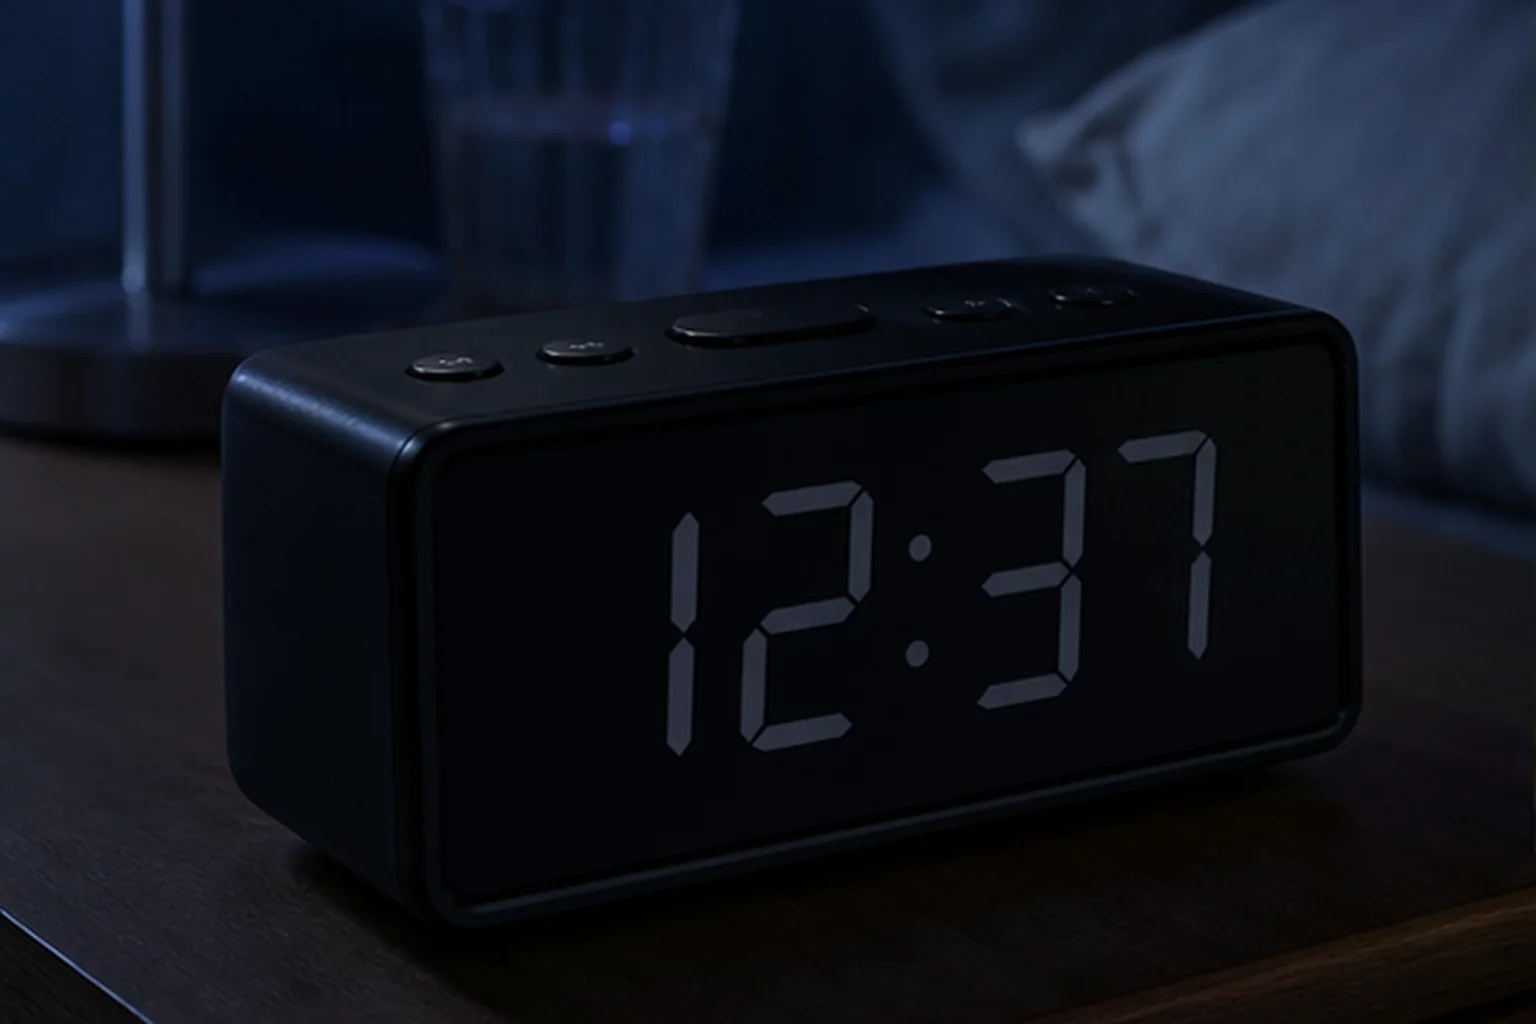
The highest brightness sells the display in daylight. The lowest usable setting decides whether the clock belongs beside the bed.
The decision first
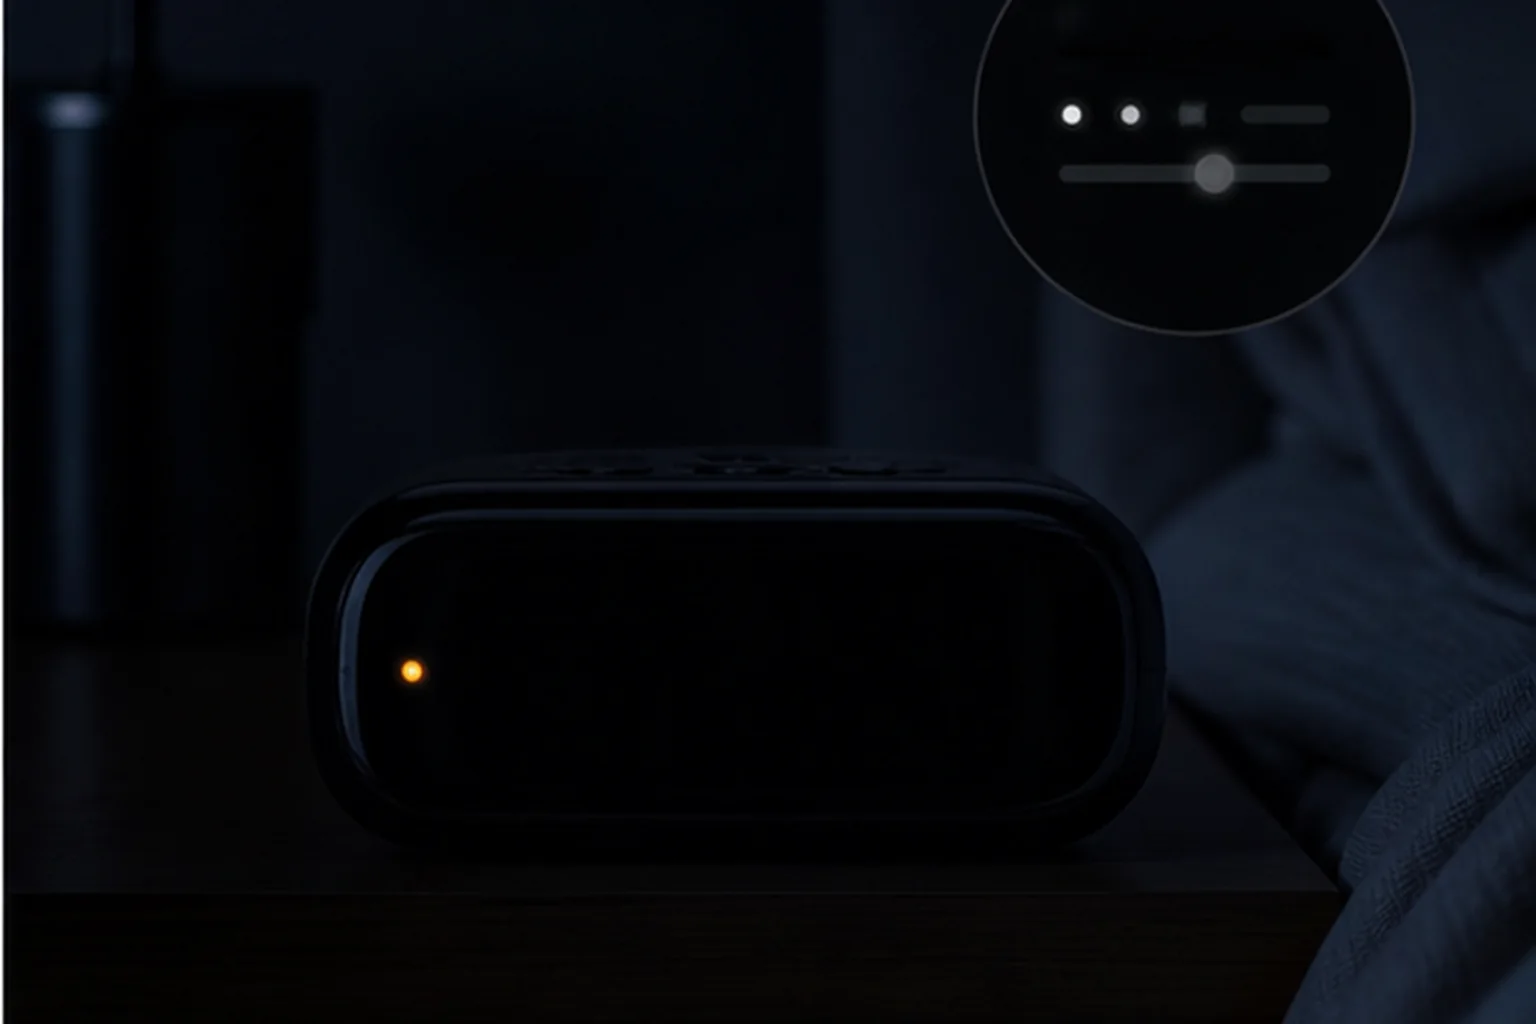
Can the display become dark enough while the alarm stays armed?
A dimmable display is not the same as a display that switches off. Check the clock’s digits, alarm indicators, projector, and nightlight separately, then confirm how you will verify that the alarm is enabled. Use the exact model’s instructions and inspect the setup under your usual bedroom lighting.
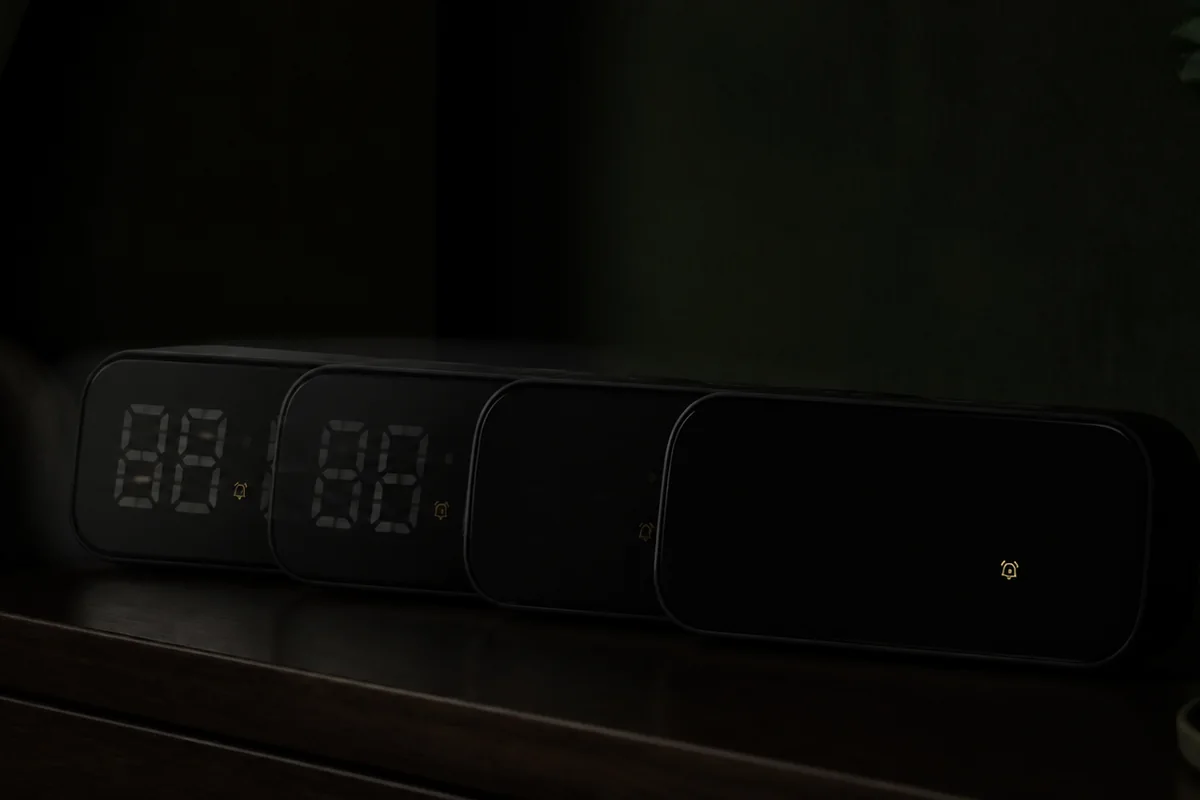
Check Each Source of Light Separately
A control for the main digits does not establish what happens to the projector, icons, or nightlight. Record the documented settings for each light source instead of using one “dimmable” checkmark.
| Light or control | What to verify |
|---|---|
| Main digits | Which brightness settings are documented and whether a complete off state exists. |
| Alarm and status icons | Which indicators remain lit and how you can confirm the alarm is enabled. |
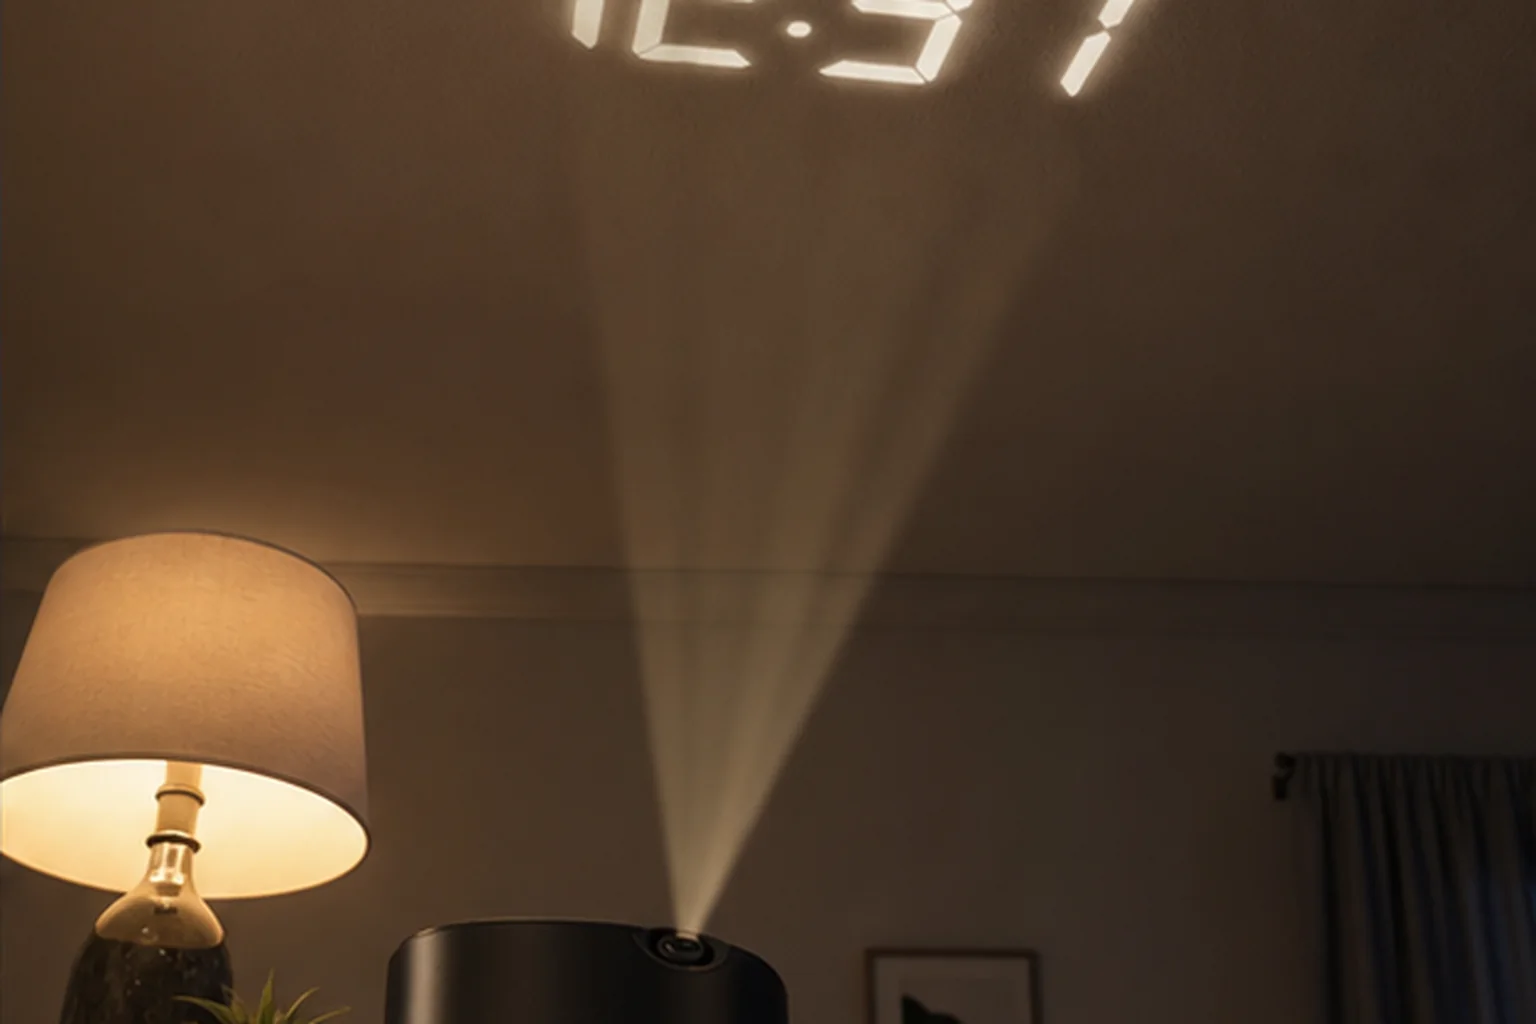
| Projector | Whether its dimming and off controls are independent of the front display. |
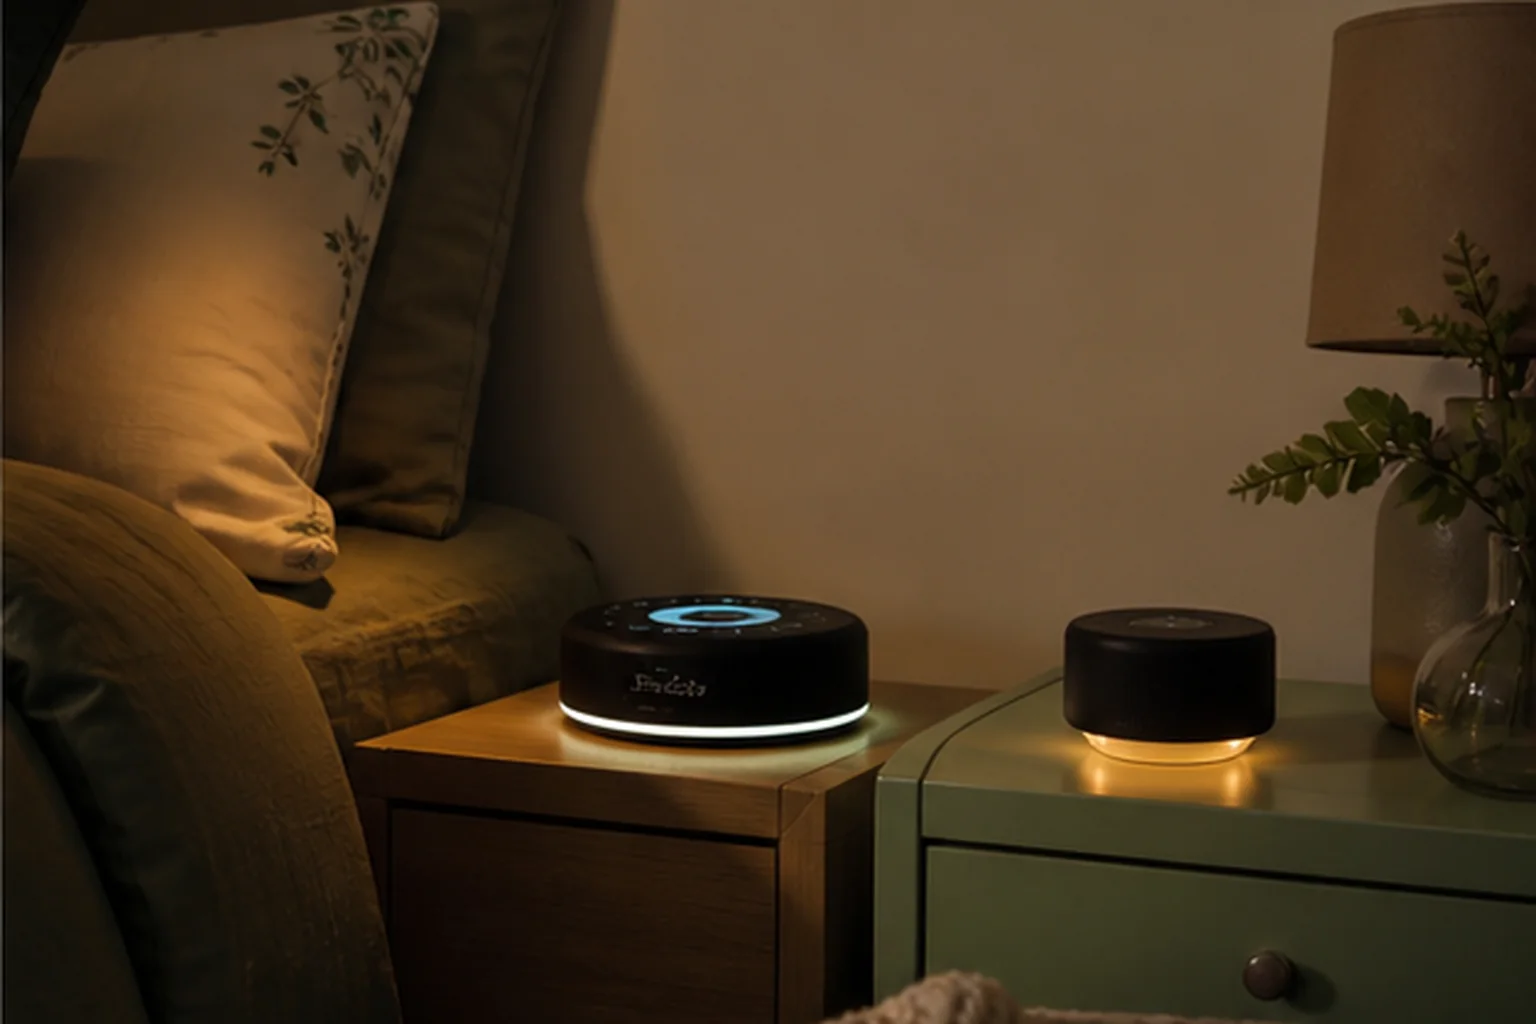
| Nightlight | Its separate control sequence and whether it can be disabled. |
| Button or sound response | Whether ordinary use restores illumination and how it returns to the chosen state. |
| Power restoration | Which lighting and alarm settings remain after the documented restart sequence. |
Brightness-level counts are not comparable measurements. Five steps can all sit near the bright end, while a three-state clock may include a true off option. A continuous dimmer can reach a useful low level and remain difficult to reproduce. Auto dimming can follow room light and still choose a level the sleeper dislikes. The buying question is whether the complete clock becomes dark enough in this room while the alarm remains armed.
Do not use display color as a shortcut for measured comfort. Digit size, segment area, contrast, reflections, viewing angle, and room surfaces all change perceived glow. A display can be readable at lower output when the angle and contrast fit. A large display may light more of the room even when its numerical level sounds low.
Covering an indicator is not equivalent to a supported setting and can hide fault or alarm information. Prefer documented controls when darkness is nonnegotiable.
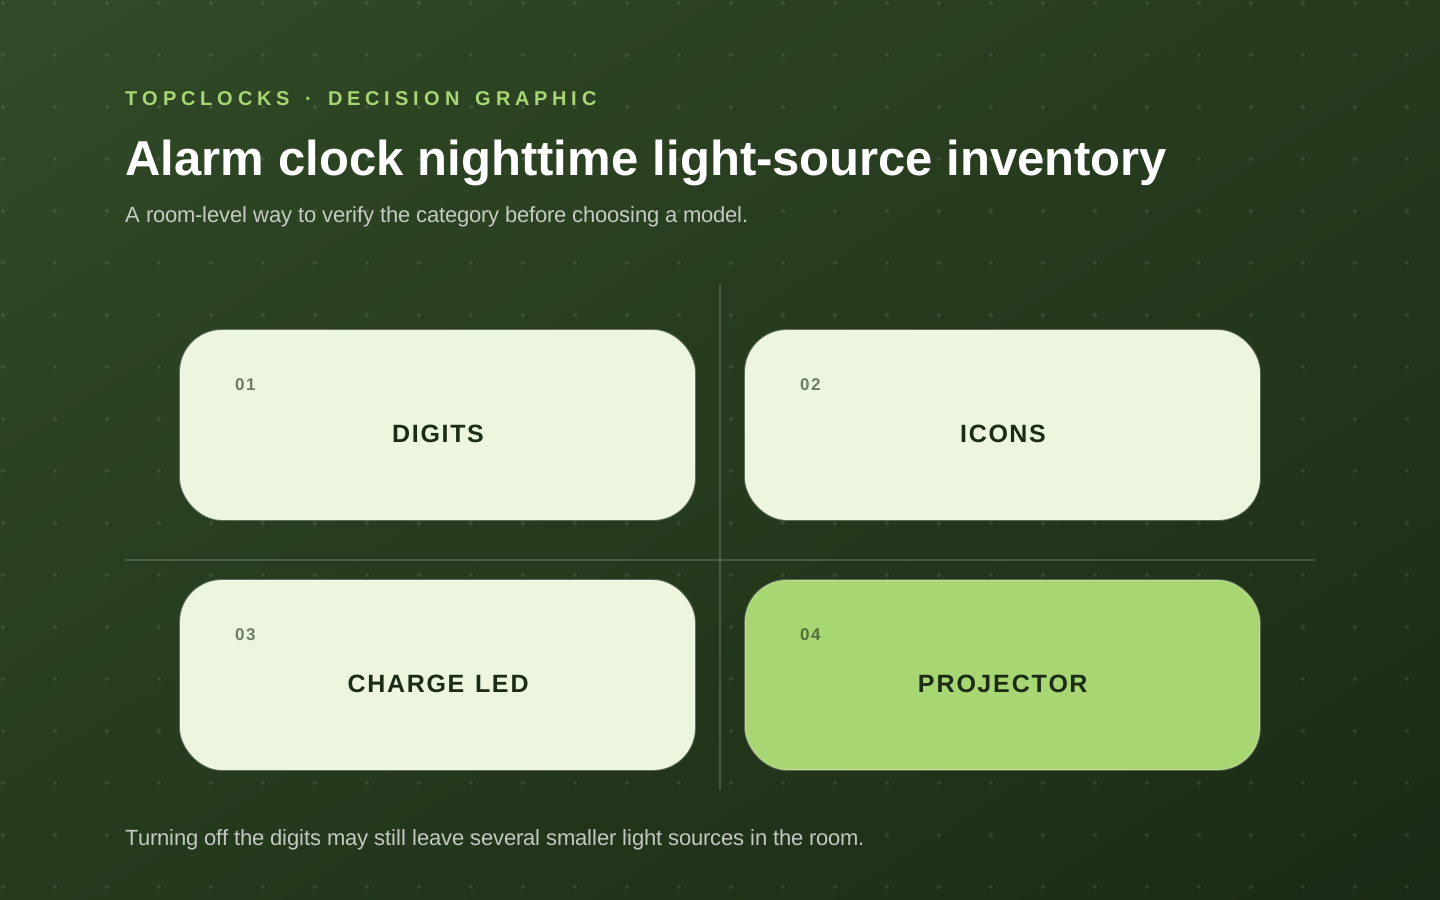
Compare the Control, Not Just the Brightness Label
A documented off option and automatic dimming solve different tasks. Compare the main display and projector separately, then verify the alarm indicator and the final setup.
| Exact model | Documented control | What it does not establish | Source |
|---|---|---|---|
| La Crosse 617-714 | Four display-brightness levels plus off, selected with SNOOZE/BRIGHTNESS. | Separate icon behavior and comfort in your room still require a setup check. | Setup guide, page 5 |
| La Crosse C82929v2 | Four LCD intensity levels plus off; projection has three intensity levels plus off. | An off setting for one output does not establish the state of the other. | v2 specifications |
| C82929v2 scheduled auto-dim | The manual linked from the v2 product page describes a scheduled low level followed by a return to full brightness. | This is not a scheduled all-lights-off promise. Match the supplied revision before following a button sequence. | Linked guide, pages 12–14 |
Document check: . These are manufacturer-described controls, not measured brightness or sleep-comfort scores.
Check the backup-power state separately when a power cut matters. The same clock can offer a display-off setting on wall power and a different display state on batteries.
Check the Finished Setup in Your Room
Use the controls as described in the exact model’s manual, then inspect the result from your normal sleeping position. Do not assign a measured brightness value to an observation made without a suitable measurement method.
- Set the main display to the state you intend to use. Check the digits and any remaining icons.
- Set the projector and nightlight separately where the model provides those controls.
- Enable a low-stakes test alarm and check how its active state is confirmed.
- Use the buttons you expect to need at night. Record whether the light changes and how the chosen state is restored.
- Record the exact settings, remaining light sources, and any unresolved behavior. Recheck after changing the model, firmware, or setup.
This is a setup record, not a universal comfort rating. Keep manufacturer descriptions and actual room observations separate.
A short power interruption can restore a clock at a default brightness, clear a display-off choice, or leave only the time and alarm settings retained. A smart clock can change display behavior after an update. An automatic sensor can react differently after furniture or room lighting changes. Reliability includes the ability to predict the visual state at 2 a.m. and the alarm state at 6 a.m.
For app-controlled displays, test the bedside control and the saved schedule after the phone or network is unavailable as documented.
Rule Out a Missing Control Before Comparing Extras
When a complete front-display off state is required, reject a candidate that cannot establish it through the matching documentation or a safe setup check. Do not treat an off setting for the projector as proof that the front panel switches off.
Philips SmartSleep HF3520/60 integrates time display into a large sunrise surface and uses self-adjusting brightness, so display and wake-light output must be evaluated separately. La Crosse 617-714 represents a conventional digital route with a complete display-off choice. Hatch Restore 3 represents a smart routine where tap-for-time and routine light create a different relationship between darkness and glanceable information.
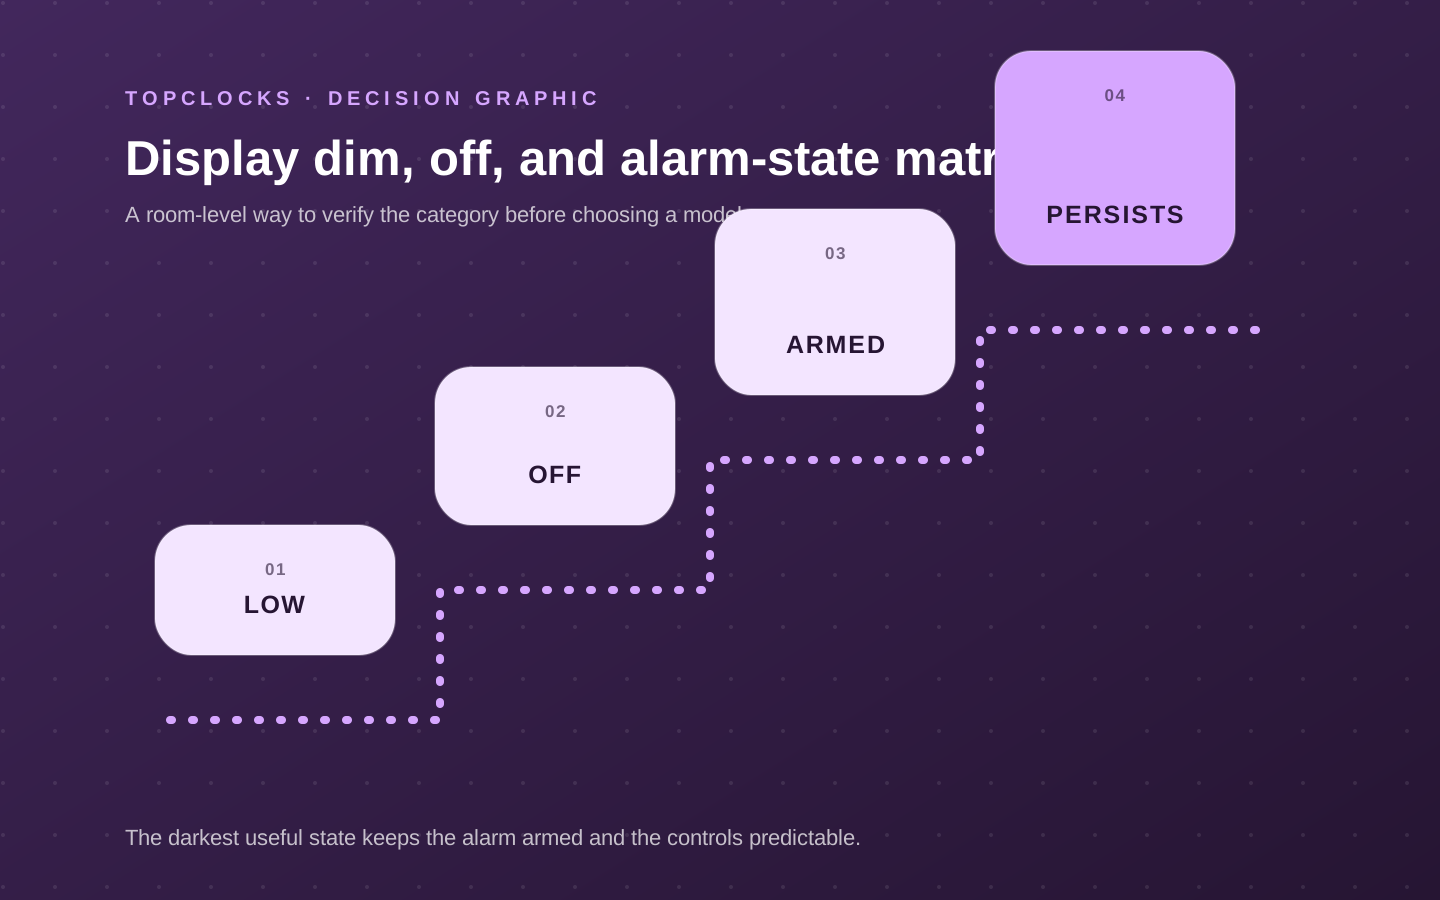
Role-based product shortlist
Models worth comparing for this decision
These are desk-researched candidates, not a claim that one clock wins for everyone. Each card explains the scenario it fits, the limitation to verify, and the primary source used for the factual details.
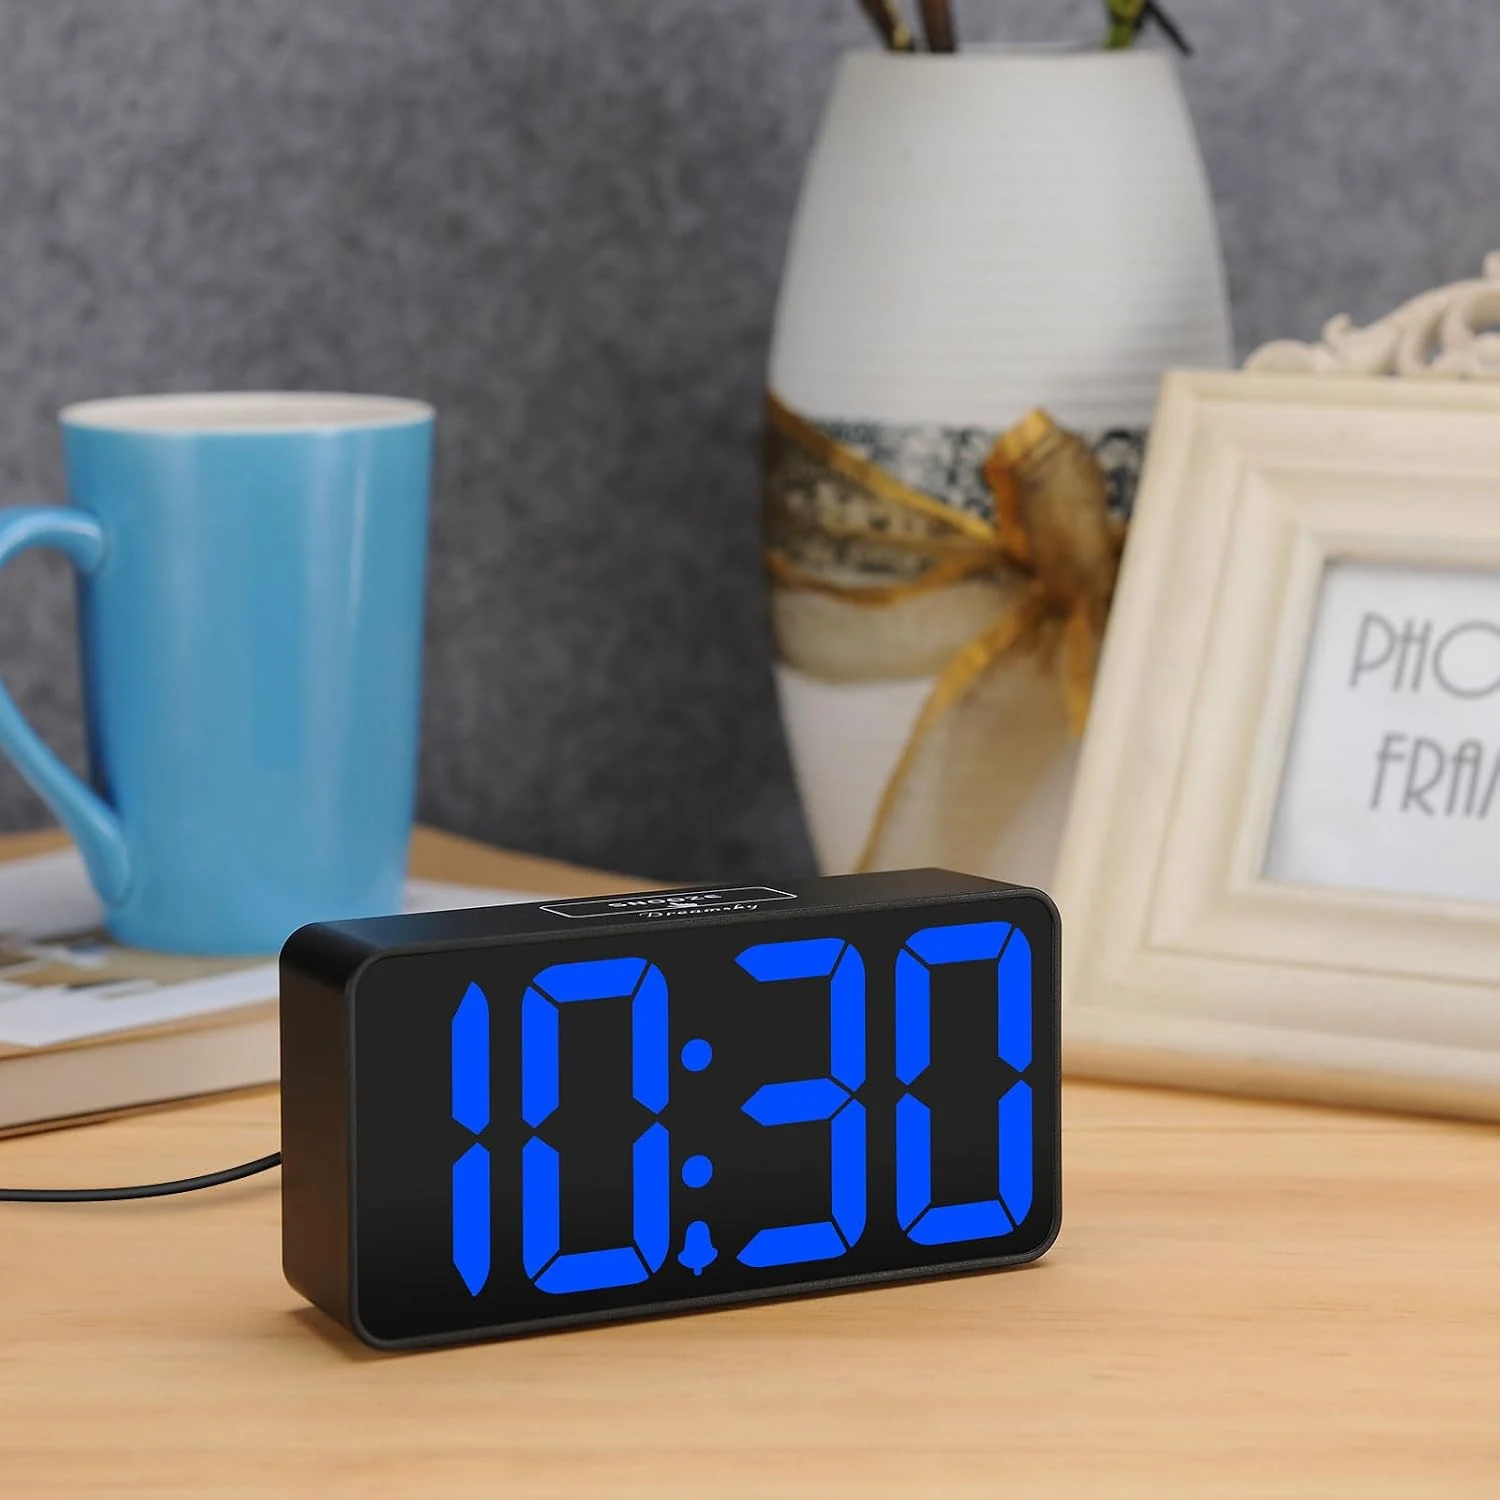
Compare for a digital display that can go fully dark
DreamSky DS312
DS312 provides a continuous wheel down to display-off, but its small alarm indicators still need to be checked from the pillow.
DS312 pairs two-inch digits with a continuous brightness wheel, adjustable alarm volume, nine-minute snooze, and a USB charging output in a compact plug-in clock.
Compare for large cordless LED digits
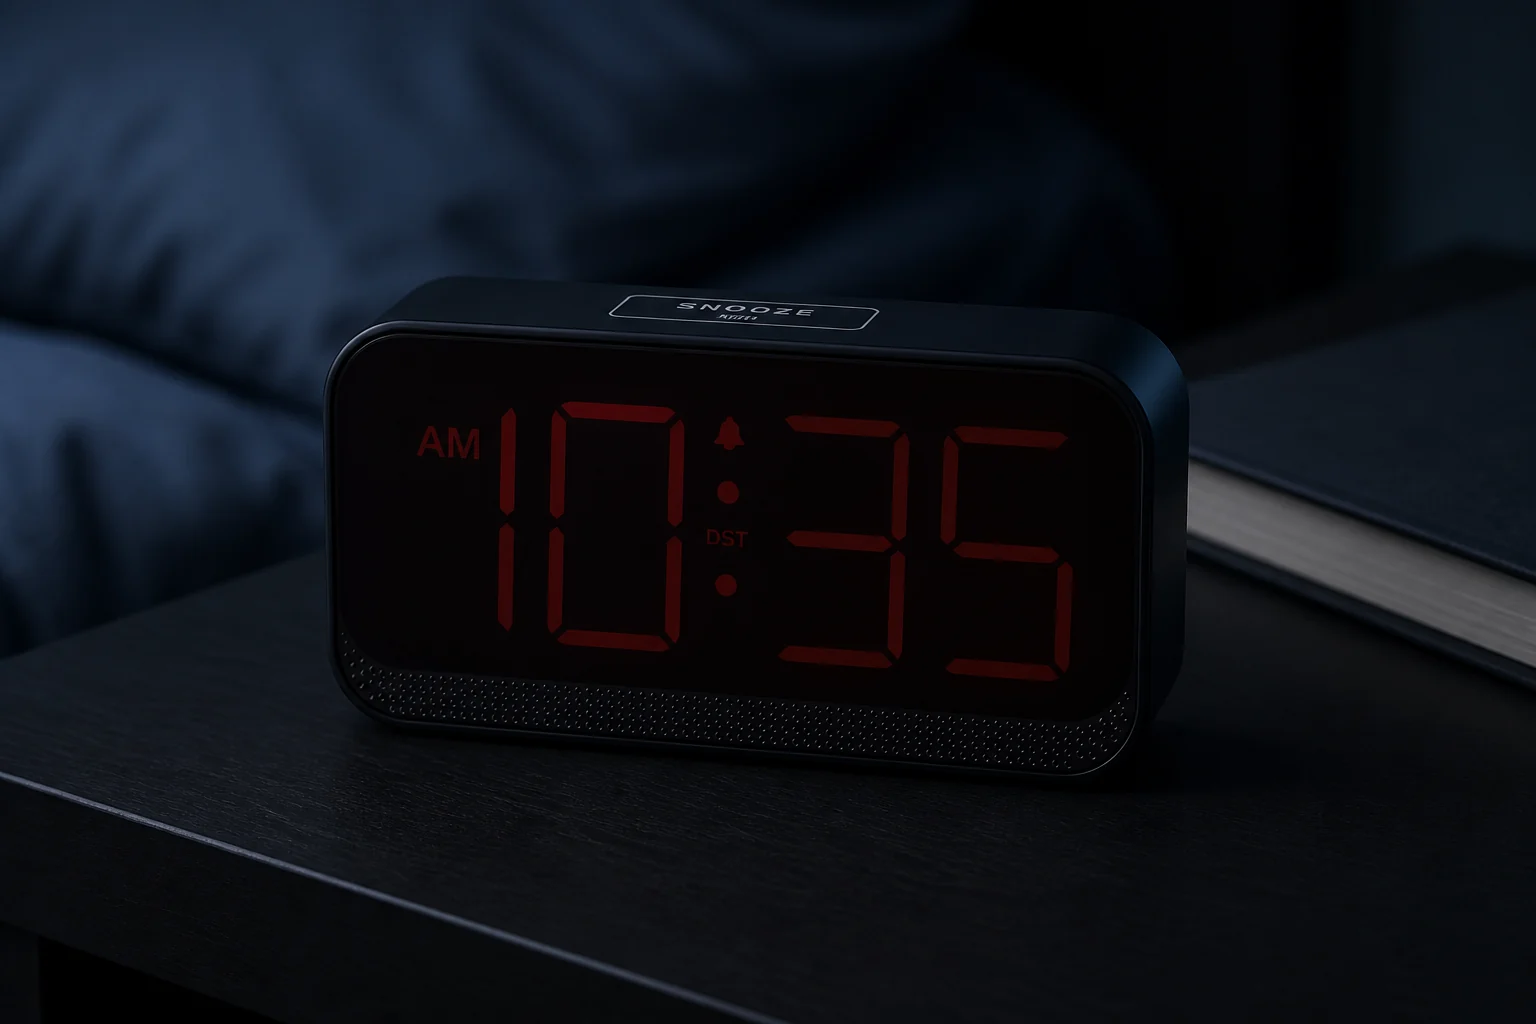
Acedeck Battery-Operated Alarm Clock
Acedeck offers automatic dimming, three manual LED levels, and display-off even in four-AA cordless operation.
Acedeck uses four AA alkaline cells to run its large red LED display and audible alarm away from an outlet. It also accepts USB-C power and offers automatic dimming, three manual levels, display-off, and three alarm-volume choices.
Compare for stored sleep sounds and a display that can go fully dark
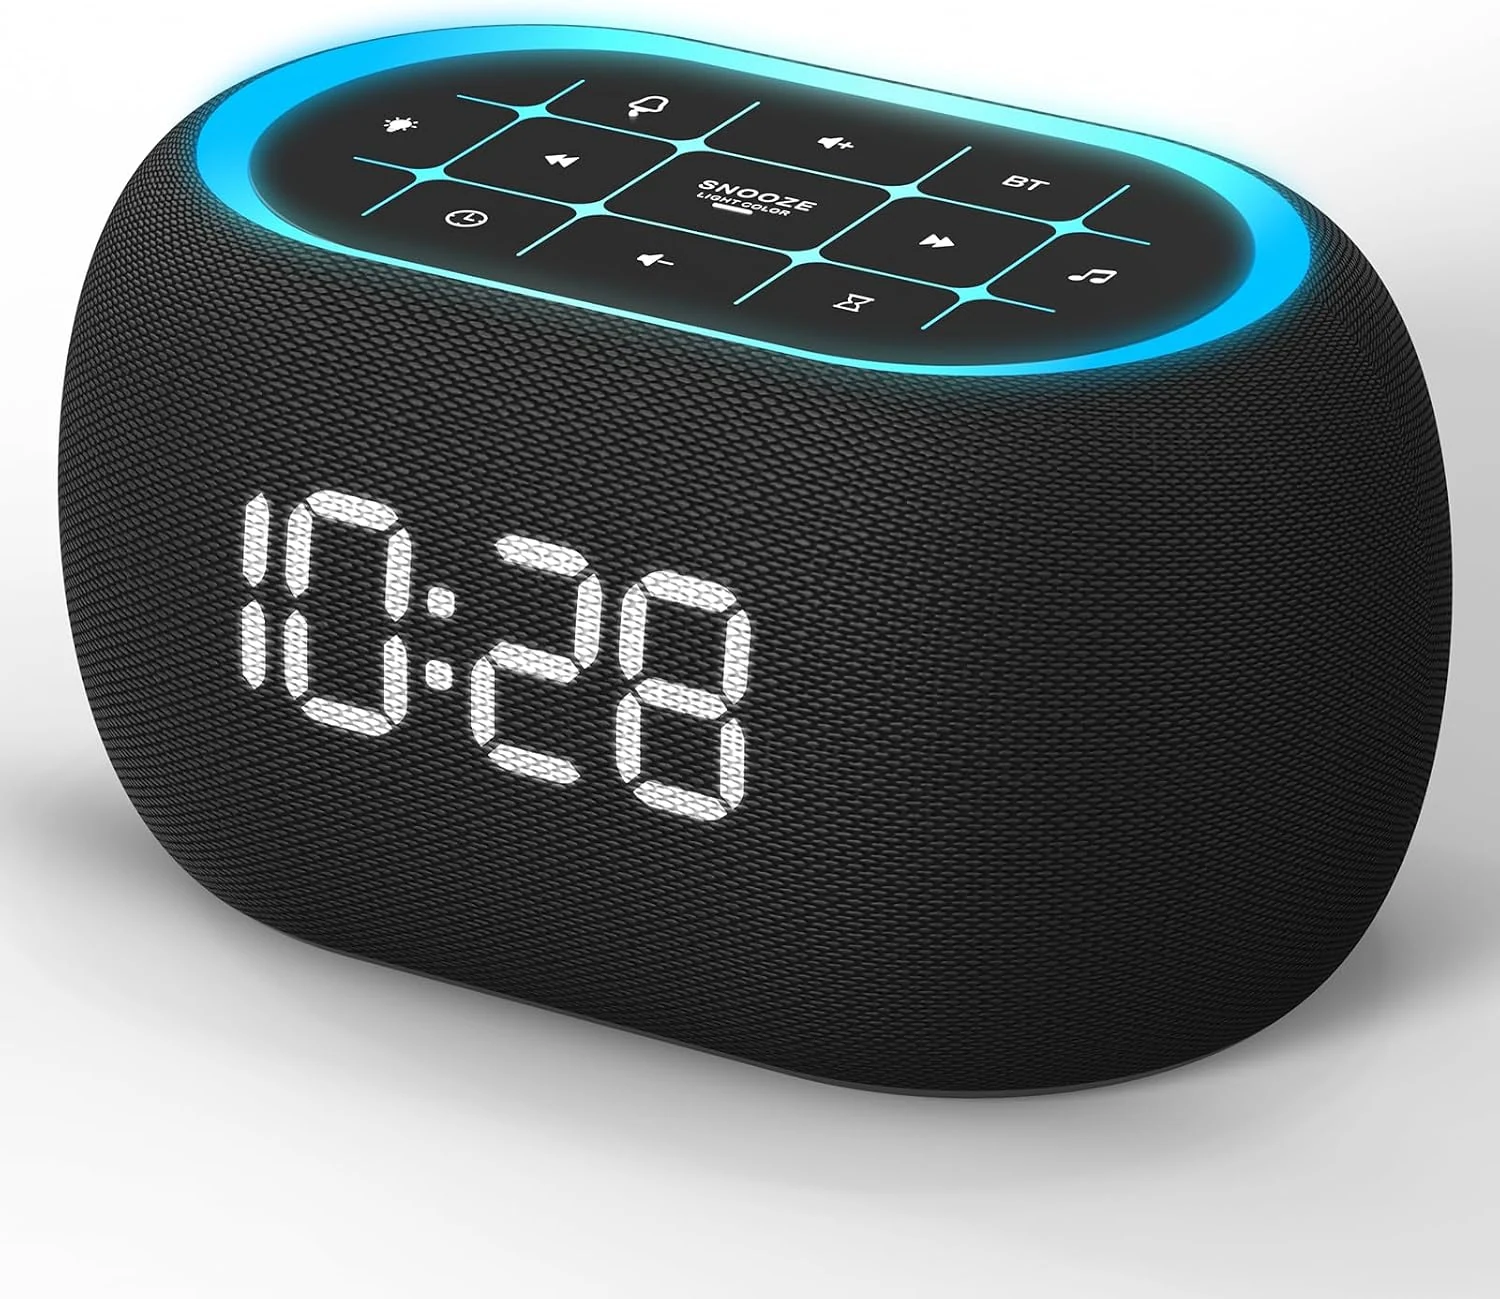
ANJANK White Noise Sound Machine Alarm Clock
ANJANK separates its zero-to-100-percent time display from the seven-color night light, so both need a darkness check.
ANJANK combines 21 built-in sleep sounds, eight stored wake sounds, Bluetooth playback, dual 10-watt speakers, seven night-light colors, a zero-to-100-percent display dimmer, and one physical bedside alarm routine.
Compare for projected weather and sensor data
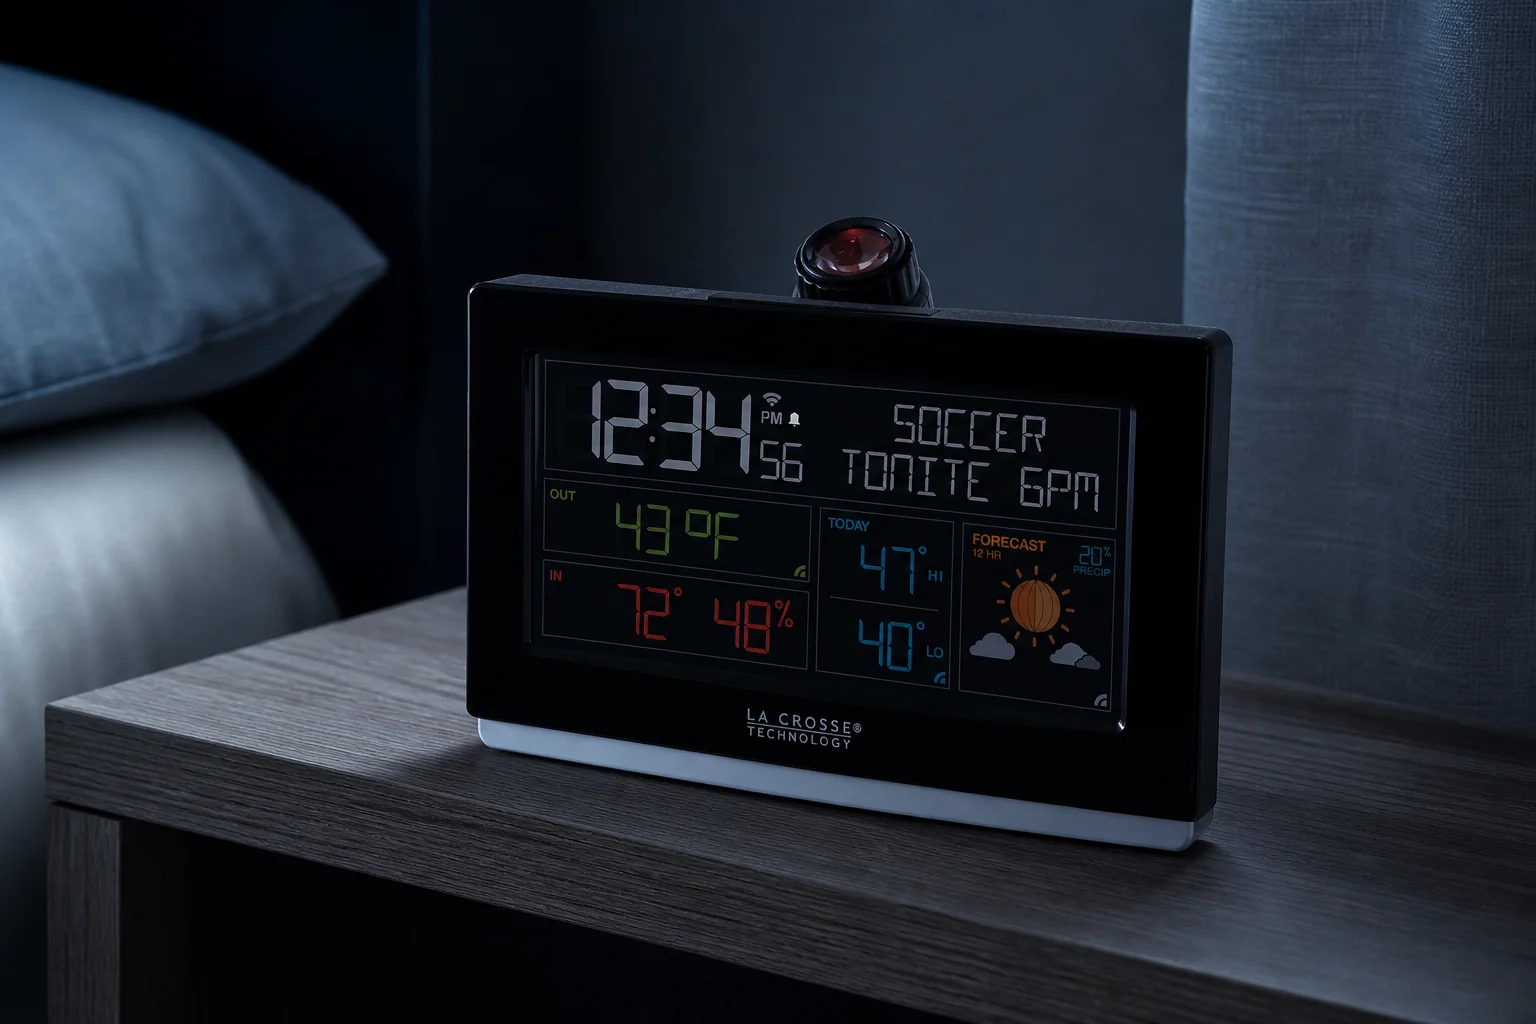
La Crosse C82929v2 Wi-Fi Projection Alarm Clock
C82929v2 has separate LCD and projection intensity controls, each with an off option. Its scheduled auto-dim window is a low-brightness schedule, not a promise that both outputs switch off.
C82929v2 can project time, indoor conditions, internet weather, or optional sensor data. It adds custom five-to-120-minute snooze and nap timing, four display levels plus off, app access, and a one-amp USB charging port.
Compare for a self-contained sunrise alarm
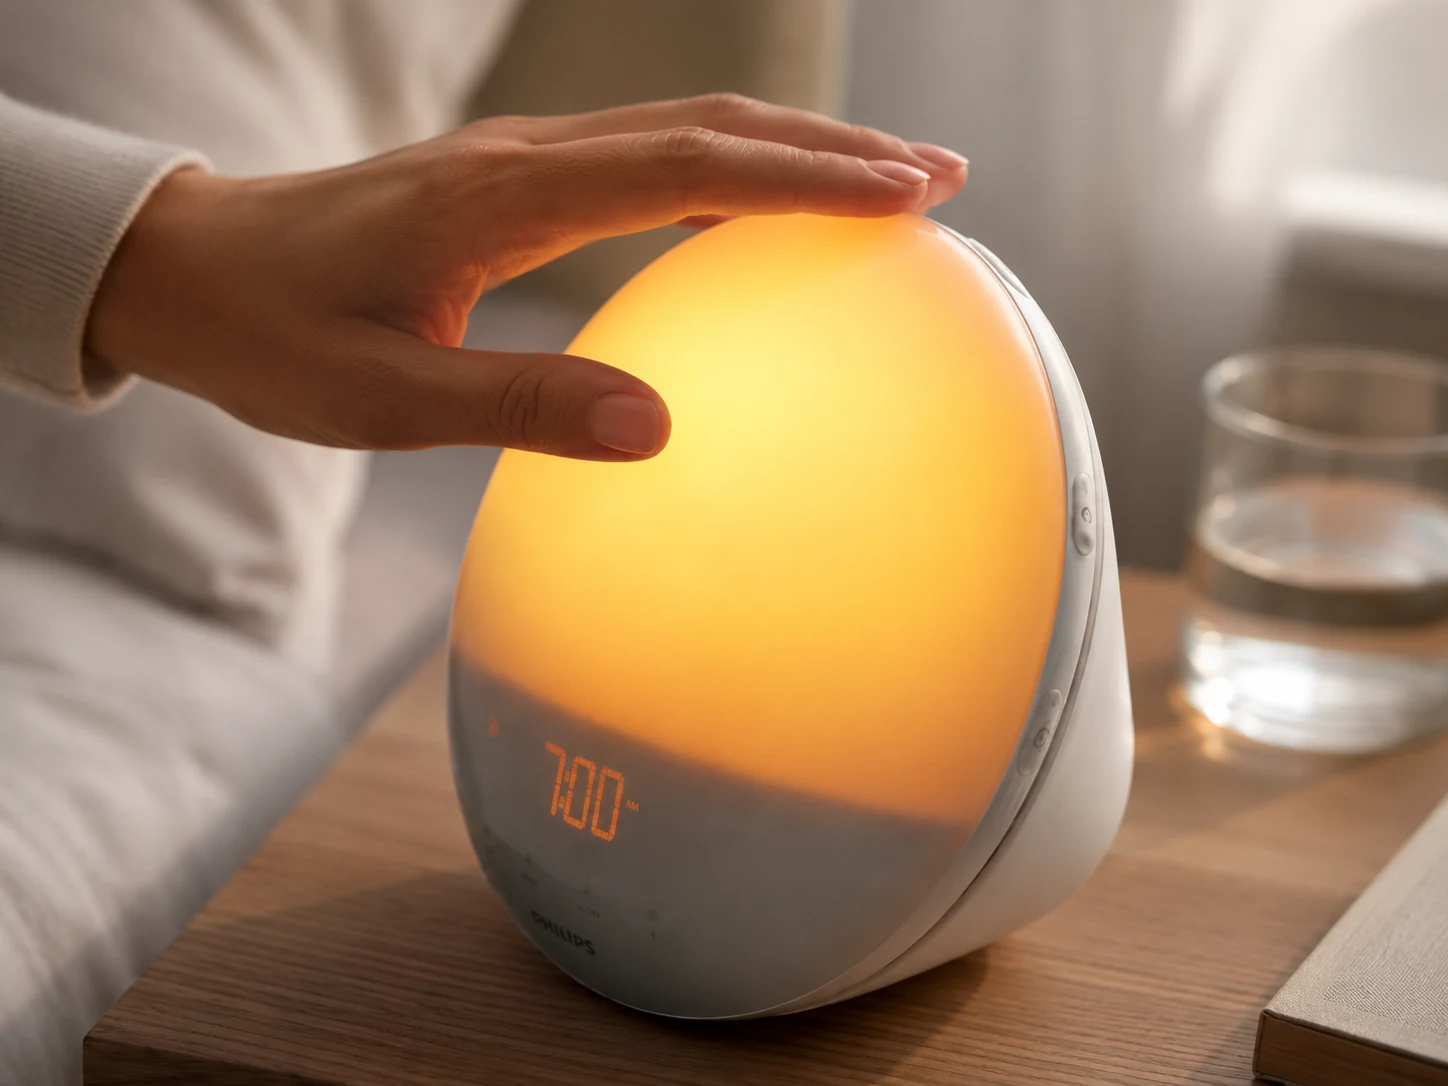
Philips SmartSleep HF3520/60
HF3520/60 integrates the time display into a large light surface, so nighttime brightness and sunrise output are separate checks.
HF3520/60 provides an adjustable 20-, 25-, 30-, 35-, or 40-minute sunrise simulation, two alarm profiles, natural wake sounds, FM radio, tap snooze, and bedside controls without requiring an app or subscription. The default sunrise duration is 30 minutes.
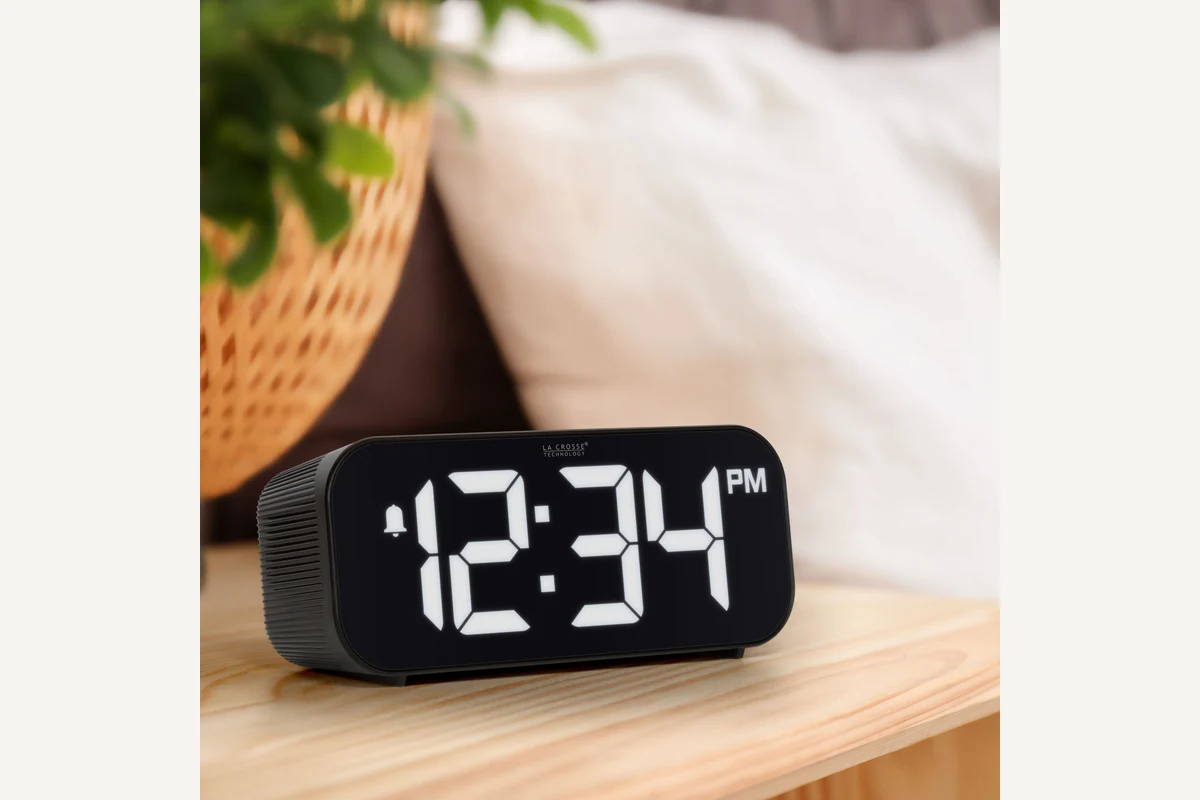
Compare for a large display with true display-off
La Crosse Technology 617-714
The 617-714 is the straightforward display-off candidate for a sleeper who wants no illuminated digits overnight.
This digital clock pairs to a phone for time and date updates, then provides an ascending alarm rated up to 95 dB, five brightness choices including off, and a 1-amp USB-A charging port.
Compare for app-built light and sound routines
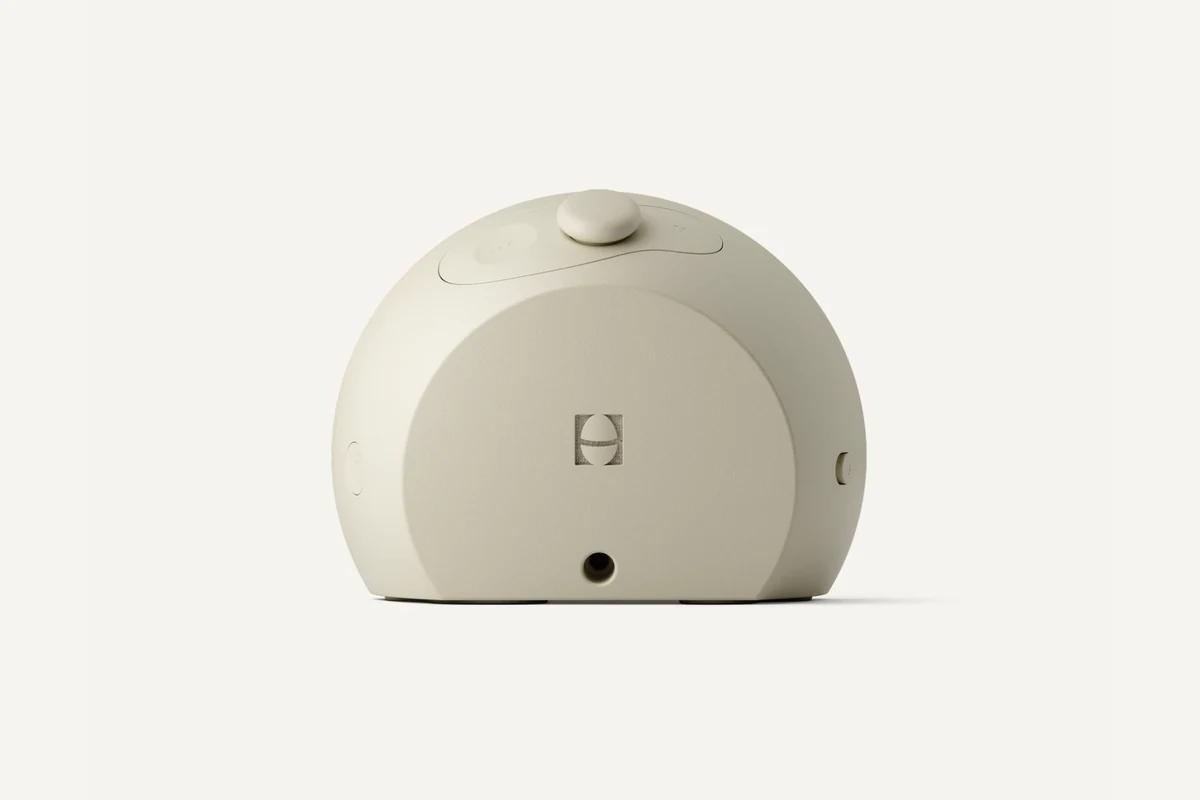
Hatch Restore 3
Restore 3 minimizes glanceable clock light through tap-for-time behavior, while its routine glow remains a different setting.
Restore 3 combines sunrise light, sound routines, and more direct device controls than earlier Restore models. A phone is still required for setup and customization, while core routines can be used from the clock afterward.
Questions About Display Controls
Does “dimmable” mean the display switches off?
No. It establishes adjustable brightness only to the extent described for that model. Check whether the manual lists an off state separately from its dimming levels.
Can projection stay on while the front display is off?
Only when that combination is supported by the exact model’s controls. Separate dimming buttons alone do not establish the required combination, so check both operating states.
How do I know the alarm is enabled when the screen is dark?
Check the model’s documented status indicator or confirmation control. Set a low-stakes test alarm while awake before relying on a dark-screen setup.
Does display-off mean the room will be completely dark?
No. Icons, the projector, a nightlight, or other indicators may have separate controls. Inspect every light source in the finished setup rather than relying on the front display’s label.
Evidence trail